Hello Everyone
Welcome to another beginner friendly tutorial. Today I will show you how you can install multiple versions of JDK on Arch Linux and set your preferred JDK as default. So let’s get started.
I hope you guys know about JDK. Otherwise there is no problem. Let’s find out now what is JDK. If you already know about JDK, you can skip this part.
What is JDK ?
The Java Development Kit (JDK) is a software development environment used for developing Java applications and applets. JDK comes with JRE (Java Runtime Environment) and Java development tools such as Java Compiler (javac), Jar Archiver (jar) and others. If you just want to run Java application than installing JRE is enough. But if want to develop Java application than you need the JDK. Because JRE comes with the minimum requirements to run Java applications where JDK has all the necessary development kits.
Install JDK
We will install Open JDK from the Arch Linux repository and you can follow all the steps for other Arch based distributions like Manjaro, Endeavor, Black Arch etc. to install JDK.
First we will install the latest version of Open JDK. At the time of writing this article, the latest version is Open JDK 15.0.3 .
We will use Arch Linux Package Manager, Pacman to install our Open JDK, and for this we will run the following command
sudo pacman -Sy jdk-openjdk --noconfirmThe above command will install the latest version of Open JDK. But if we need an older version of JDK than how can we install it? Let’s find out.
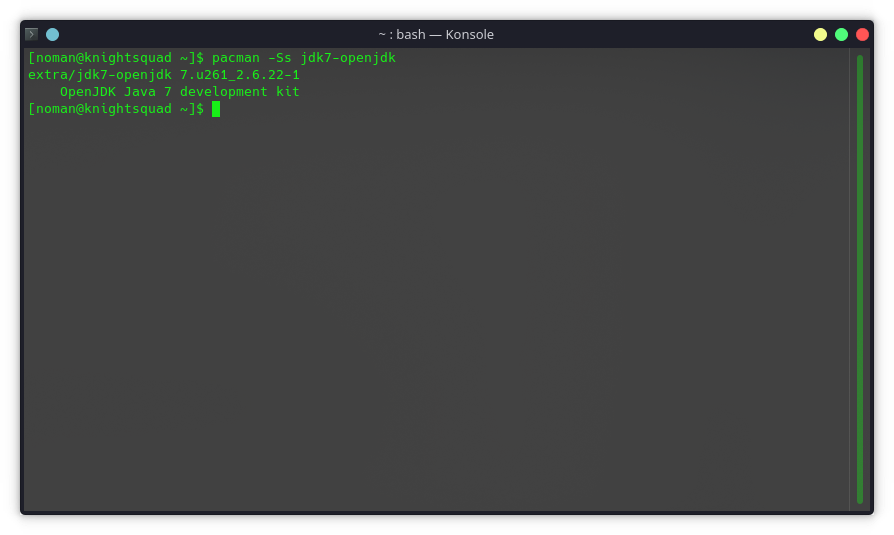
First you need to keep in mind that not all older versions are available in the Arch Linux repository. We can search for the version of our desired JDK in the Arch repository using the Pacman Package Manager. For example, if I want to search Open JDK 7, I will run the following command
pacman -Ss jdk7-openjdkIf the version is available in the repository, it will give some output as below
If the version is not available you will not get any output from the above command.
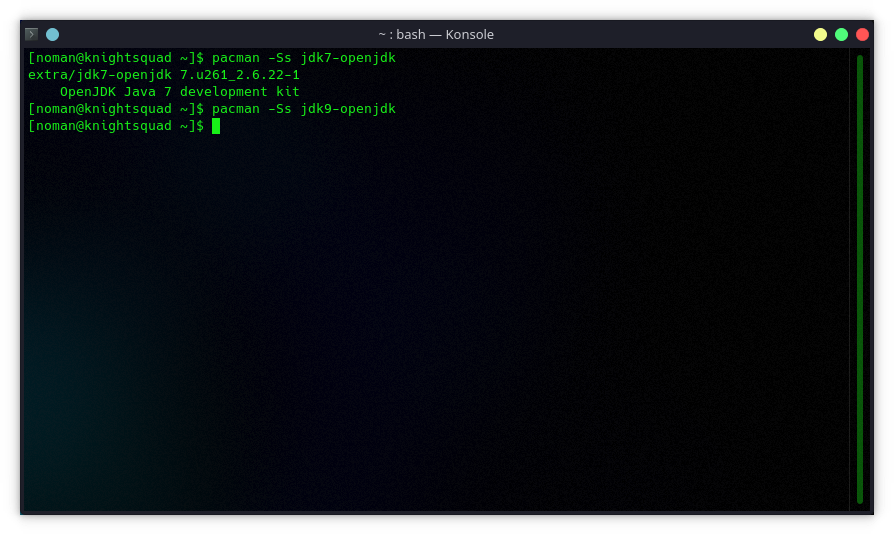
If the JDK version of your choice is found in the Arch repository, you can install it with the following command (just replace jdk-package-here with the JDK version package you selected)
sudo pacman -Sy jdk-package-here --noconfirmAfter installing JDK you can verify the installation by running the following command
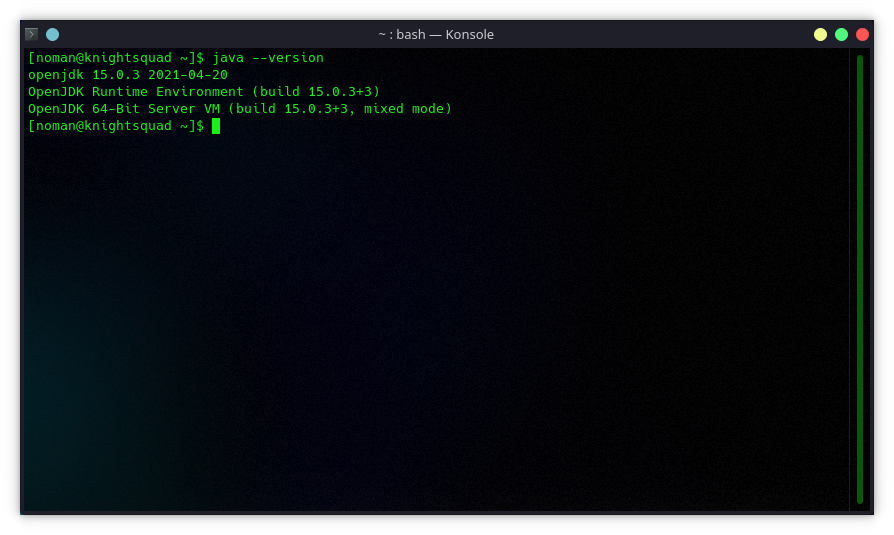
java --versionIf you have successfully installed JDK, you will get an output like below
Set Default JDK
Now we need to set the default JDK. If you have installed one JDK, you do not need to do this. However, if you have multiple versions installed and want a specific version as your default JDK than follow this step.
First we need to check what JDKs do we have. For this we can run the following command
archlinux-java statusAbove command will output something like this
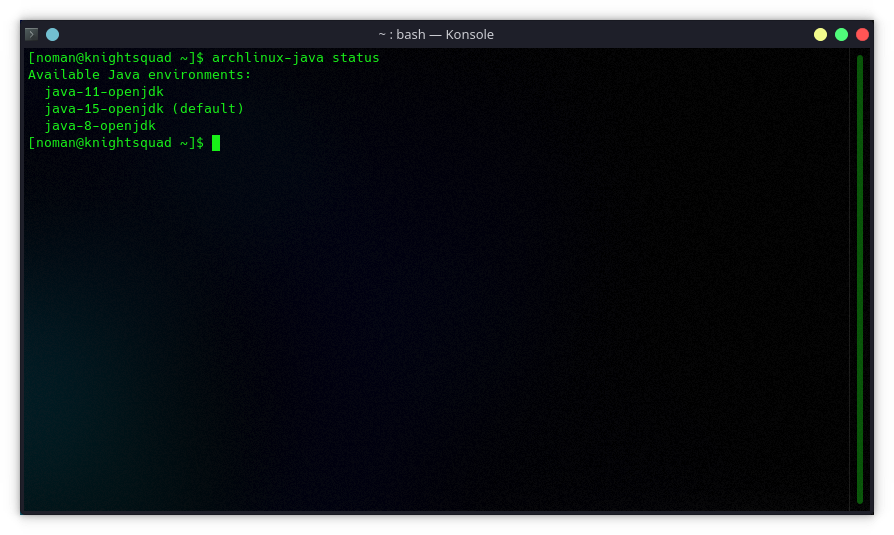
You can see that I have installed three JDKs. My default JDK is Open JDK 15. Now if I want to set Open JDK 8 as my default JDK, I will run the following command.
sudo archlinux-java set java-8-openjdkAfter changing your default JDK, you can verify it by running the following command
archlinux-java statusIn this article, I have demonstrated you how to install JDK on Arch Linux. I hope you have learned something new from this article. Feel free to let me know in the comments section if you have any questions or need help with JDK installation.
So, this is for today. Stay tuned for more Linux tutorials.


Thanks!